10 - Install and configure sketchybar macOS
Are you tired of Linux users showing off their beautiful themes and menubars (bar on top) while you're stuck with the boring and plain default macOS menubar because you thought that macOS was "not customizable"? Today we break those chains, and stop that cycle. In this video we go over the installation of sketchybar, install all the required dependencies, we will also configure some sketchybar themes, and give you the tools you need to customize the menubar to your liking.
10 - Install and configure sketchybar macOS
Contents
- YouTube video
- What is sketchybar
- Sketchybar demo
- Hide macos menubar
- Sketchybar installation
- Install themes
- Uninstall sketchybar
- You’re a fraud, why do you ask for money, isn’t YouTube Ads enough?
YouTube video
What is sketchybar
- As the project owner
FelixKratzstates in the main repo page- “This bar project aims to create a highly flexible, customizable, fast and powerful status bar replacement for people that like playing with shell scripts.”
- If you like this project, please star it in github, also in the same page you can sponsor the developer if you like all the hard work put into this
- I don’t know the developer, nor we have exchanged messages
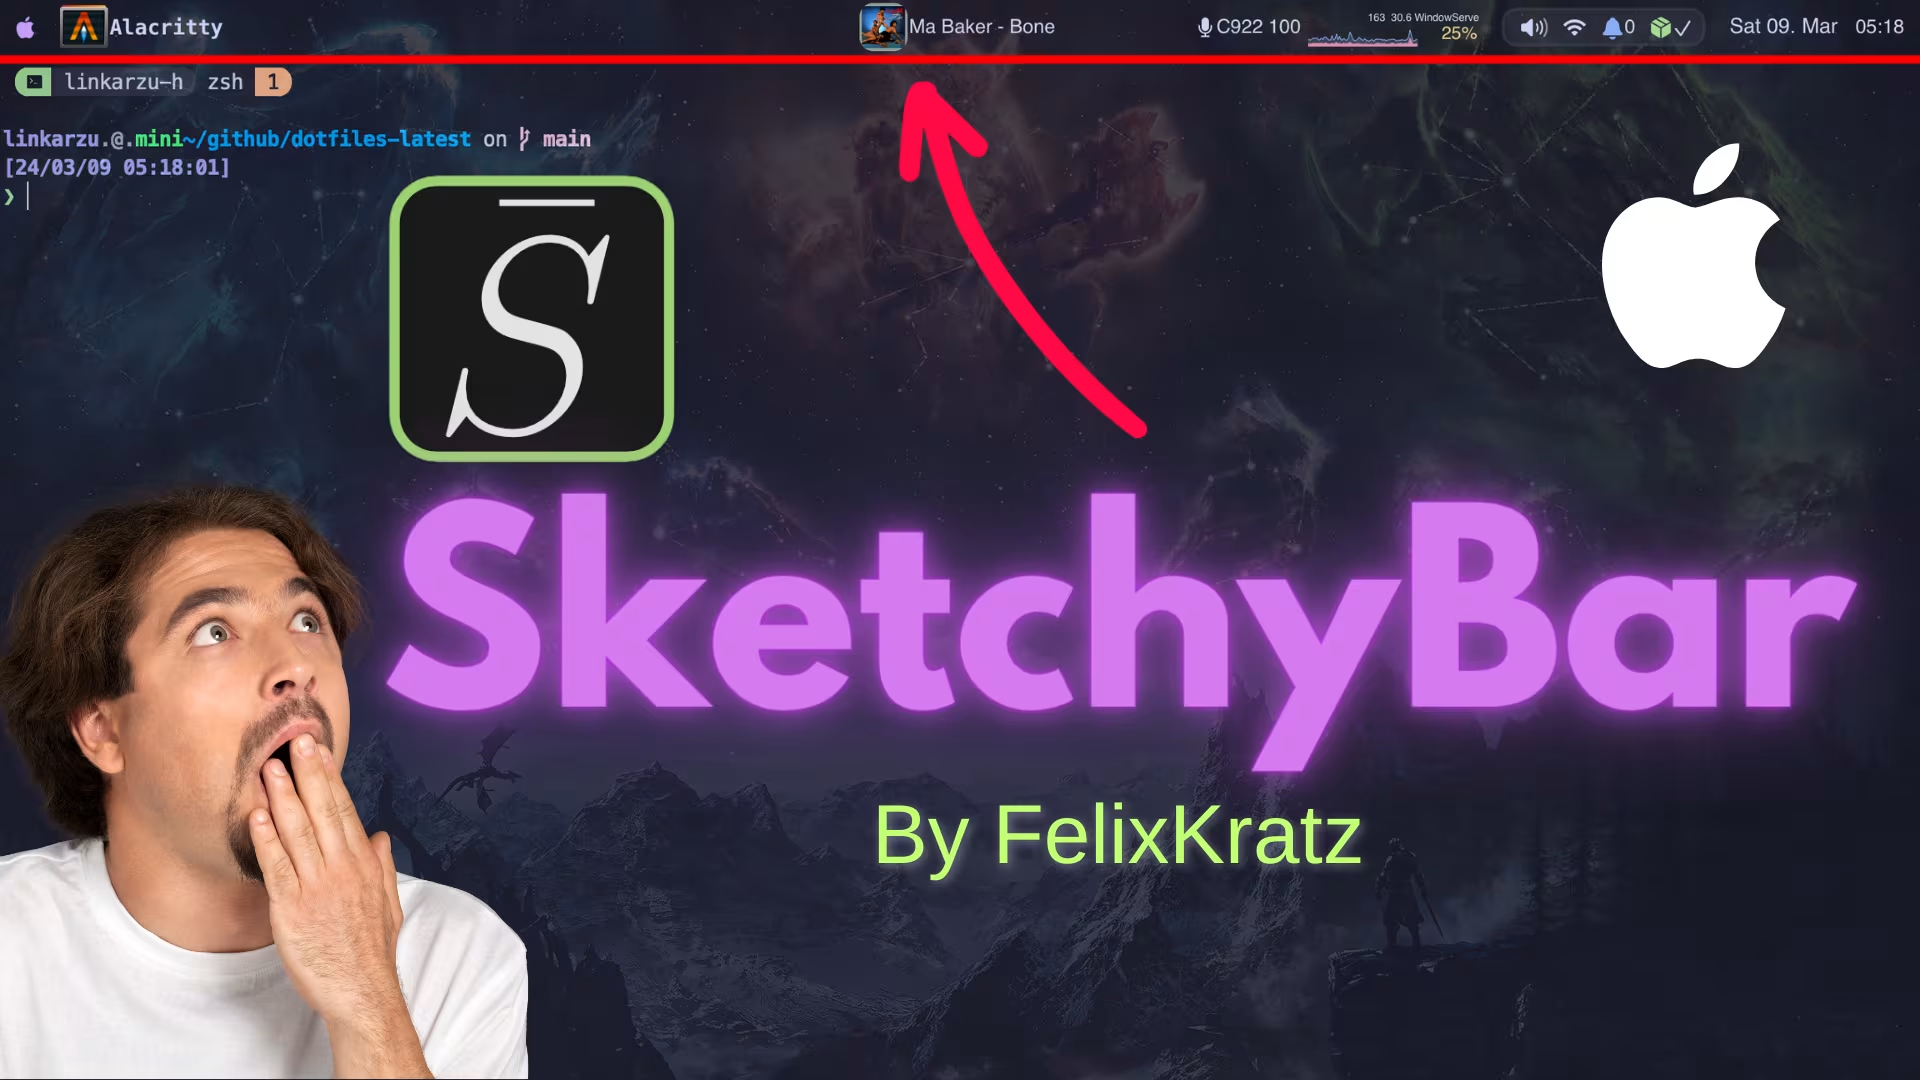
Sketchybar demo
- In the video, in this part I show what each part of the bar does when going over the
sketchybarrcfile- We will later see how to install the sketchybarrc file and other themes
Hide macos menubar
- To automatically hide the menu bar (bar on top)
In macOS Sonoma you set the following to
Alwaysto hide the menu barSystem Settings - Control Center - Automatically hide and show the menu bar- You could instead use the following commands if needed
1
osascript -e 'tell application "System Events" to set autohide menu bar of dock preferences to true'
- To disable this setting
1
osascript -e 'tell application "System Events" to set autohide menu bar of dock preferences to false'
Sketchybar installation
- I’ll be following the installation instructions found in the main setup page
- We will need brew, if you don’t have brew installed, go and watch this video
Install sketchybar
1
2
brew tap FelixKratz/formulae
brew install sketchybar
- At the end of the sketchybar installation you will see the instructions to load the default configuration, so run these commands
1
2
3
4
5
6
7
8
9
10
mkdir -p ~/.config/sketchybar/plugins
cp /opt/homebrew/opt/sketchybar/share/sketchybar/examples/sketchybarrc ~/.config/sketchybar/sketchybarrc
cp -r /opt/homebrew/opt/sketchybar/share/sketchybar/examples/plugins/ ~/.config/sketchybar/plugins/
chmod +x ~/.config/sketchybar/plugins/*

# Restart sketchybar to apply the changes
brew services restart felixkratz/formulae/sketchybar

# Run sketchybar at startup
brew services start sketchybar
- Then reload sketchybar
1
sketchybar --reload
Install dependencies
- Install the default fonts and the fonts I personally use
1
2
3
4
5
brew tap homebrew/cask-fonts
brew install --cask font-hack-nerd-font

# Fonts that I personally use
brew install --cask font-meslo-lg-nerd-font
- I’m using a modified version of the plugin’s creator theme, so we need to install some additional dependencies that the plugin creator lists
- This information can be found in felixkratz dotfiles
1
2
3
4
5
6
7
8
9
10
11
12
13
14
15
# This shows the apple logo and rest of icons on the right
brew install --cask sf-symbols

# jq is used for parsing JSON data to extract specific pieces of information
# such as network status, media playback information, GitHub notifications, etc
brew install jq

# This installs the github cli tool
brew install gh

# This is used for switching audio sources and displaying microphone name
brew install switchaudio-osx

# This shows the icons for the apps
curl -L https://github.com/kvndrsslr/sketchybar-app-font/releases/download/v1.0.23/sketchybar-app-font.ttf -o $HOME/Library/Fonts/sketchybar-app-font.ttf
- To reload sketchybar after installing addons
1
sketchybar --reload
Install themes
- There are several themes created by community members that can be found in the setups discussion
- Go over the page, see which one you like, and hopefully the creator properly documented everything so you can replicate it
- In this guide I’ll install the theme that the plugin creator uses, also a modified version of that theme, which is what I use, and an additional theme
- I haven’t fixed this last theme because I don’t use it, but feel free to do so by going over the ‘setups’ page I shared above
- In this guide you will have 2 options:
Only download the 'sketchybar' dir from my dotfiles- Preferred method if you already have your dotfiles and just want to grab the sketchybar part
- This is also a good method if you don’t want to clone my repo and deal with git commands
Clone my entire dotfiles-latest repo- Follow this method if you’re following my playlist: 2024 macOS workflow
- For more information on what dotfiles are watch this video
- When working with themes, make sure that all of the .sh files inside each theme’s directory have executable permissions, otherwise the scripts won’t work properly
Option 1: DOWNLOAD ‘sketchybar’ dir
- You only have to follow 1 of the 2 install theme methods
- Remember:
- This is the preferred method if you already have your dotfiles and just want to grab my sketchybar part
- This is also a good method if you don’t want to clone my repo and deal with git commands
- First I’ll create the github directory where I’ll download the themes
- If you already have your own dotfiles dir, you don’t need to create the dir below, you can use your own dir instead
1
2
mkdir -p ~/github
cd ~/github/
- Do the following in Google Chrome, I tried safari and the download does not work
- You will need a
github accountfor this, if you don’t have one, set it up - Go to my dotfiles-latest repo
- Once there, press
.(dot)- Or instead you can switch the
github.comtogithub.devon the top to go to the
- Or instead you can switch the
- Right click on the
sketchybardirectory and download it to thegithubdirectory we created above- If you already have your own dotfiles dir, download it there
- Since we didn’t clone the entire repo, there will not be a git configuration, so file permissions will not be preserved, and
.shfiles may not be executable, we con confirm this with the following command- We will not see an
xpermission on the file, but insteadrw------- - I’m also looking for a file called
helperwhich is the one that graphs the CPU utilization, so need to make that exec as well -type fshows only files, excluding directories
- We will not see an
1
2
3
cd ~/github/sketchybar
find . -name "*.sh" -type f -exec ls -l {} +
find . -name "helper" -type f -exec ls -l {} +
- So we will make the files executable
- The cd is not needed here, but adding it as a precaution, nothing happens if you’re already in that dir
- All files will be listed and you will see now they have
rwx--x--x
1
2
3
4
5
cd ~/github/sketchybar
find . -name "*.sh" -type f -exec chmod +x {} +
find . -name "helper" -type f -exec chmod +x {} +
find . -name "*.sh" -type f -exec ls -l {} +
find . -name "helper" -type f -exec ls -l {} +
- Now to apply the themes we just downloaded
- The first one is my modified version of the owners theme
- I use yabai in stack mode so I disabled the spaces, as I keep all my apps in a single macOS desktop/workspace
- If you want to learn more about my yabai config, watch this video
- I also switch between apps using karabiner-elements mappings, for that you can check this video
1
2
3
ln -snf ~/github/sketchybar/felixkratz-linkarzu ~/.config/sketchybar
brew services restart felixkratz/formulae/sketchybar
sketchybar --reload
- Owners theme as of March 7th 2024
- If you’re not using yabai or not using it in stack mode and using multiple macOS desktops/workspaces, this is probably a better choice, as you will be able to see your desktops and apps on each one. Also switch between spaces
1
2
3
ln -snf ~/github/sketchybar/felixkratz ~/.config/sketchybar
brew services restart felixkratz/formulae/sketchybar
sketchybar --reload
- Default, out of the box, config
1
2
3
ln -snf ~/github/sketchybar/default ~/.config/sketchybar
brew services restart felixkratz/formulae/sketchybar
sketchybar --reload
- This below is a community theme, I haven’t configured it properly, because I don’t use it but you can figure it out by following the following thread in setups discussion
1
2
3
ln -snf ~/github/sketchybar/neutonfoo ~/.config/sketchybar
brew services restart felixkratz/formulae/sketchybar
sketchybar --reload
Update .zshrc file
- If you downloaded the sketchybar dir, make sure you add the code below to your zshrc file for the brew item to auto update when you run brew commands
- The code that you need to add to your
~/.zshrcfile is shown here
1
2
3
4
5
# I'm using vim to edit the file here, but use whichever text editor you want
# If the file already exists, its timestamp will be updated, but the existing
# content won't be affected by the 'touch' command below
touch ~/.zshrc
vim ~/.zshrc
Option 2: CLONE dotfiles-latest repo
- You only have to follow 1 of the 2 install theme methods
- Follow this method if you’re following my playlist: 2024 macOS workflow
- We’ll be switching to a new repo, which has the same contents I had in the repo we have been using, but it has more updates and is the repo that I’ll keep maintaining from now on
- If you want to fork the repo to have your own copy and make changes to re upload to your own github account, see my following video 04 - What are dotfiles and how to clone them
- The commands below apply to both if you’re new and want to clone my entire repo, or if you’re switching from my old repo
1
2
3
4
# If the github dir already exists, no issues, you can still run the command
mkdir -p ~/github
cd ~/github/
git clone https://github.com/linkarzu/dotfiles-latest.git
- We’ll checkout to the specific commit shown in the video so that the files look the same as in the video and you don’t
1
2
cd dotfiles-latest
git checkout adf127a73b6c57383b6ae17211ceeaf978f70b4a
1
2
3
4
5
6
7
8
# Create a backup of the existing ~/.zshrc file
# If the original ~/.zshrc file does not exist, nothing will happen
cp ~/.zshrc ~/.zshrc_backup_$(date +%Y%m%d%H%M%S) >/dev/null 2>&1

# Create the symlink to point .zshrc to the file in my dotfiles-latest repo
ln -snf ~/github/dotfiles-latest/zshrc/zshrc-file.sh ~/.zshrc

source ~/.zshrc
- Then you need to switch the theme by editing the following file
~/github/dotfiles-latest/zshrc/zshrc-file.sh - After editing the file as I show in the video source it, that will also reload sketchybar
1
source ~/.zshrc
Uninstall sketchybar
1
2
3
4
5
6
brew uninstall sketchybar
brew untap FelixKratz/formulae

pkill "sketchybar"

osascript -e 'tell application "System Events" to set autohide menu bar of dock preferences to false'
- If you’re using my .zshrc config, also make sure to comment the
create_symlinkline related to sketchybar
- You could also delete the rest of the dependencies that were installed (jq, fonts, switchaudio-osx, gh), but I like keeping them, as all of them are dependencies that I use, the rest are just fonts, it doesn’t hurt me to keep them.
- If you want to uninstall them just run a
brew uninstallcommand instead ofbrew install
- If you want to uninstall them just run a
You’re a fraud, why do you ask for money, isn’t YouTube Ads enough?
- I explain all of this in the “about me page” link below:
- youre-a-fraud-why-do-you-ask-for-money-isnt-youtube-ads-enough
- Above you’ll also find links to my discord, social media, etc
This post is licensed under CC BY 4.0 by the author.